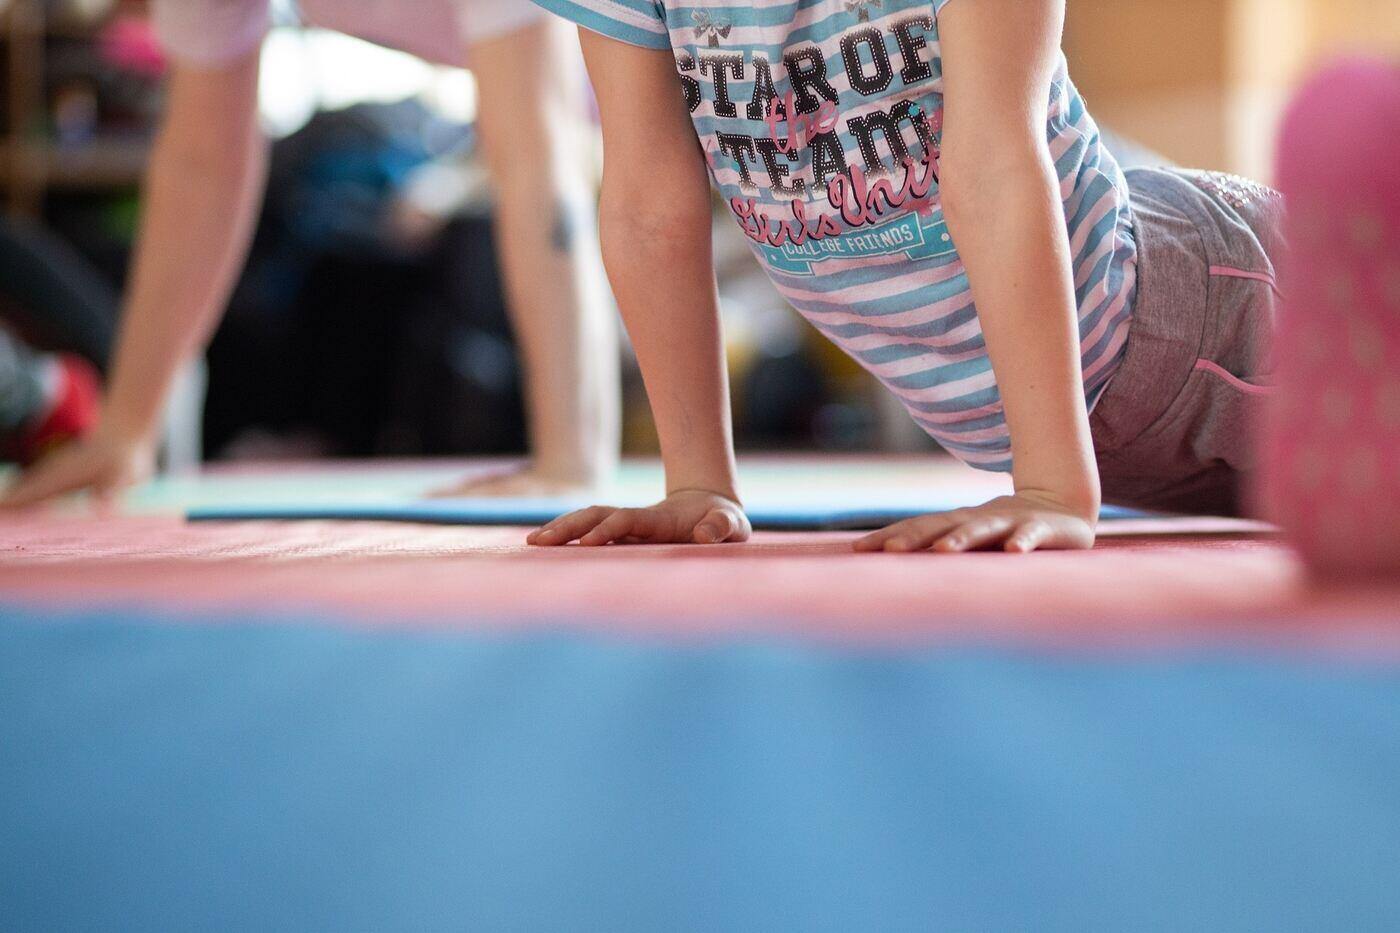
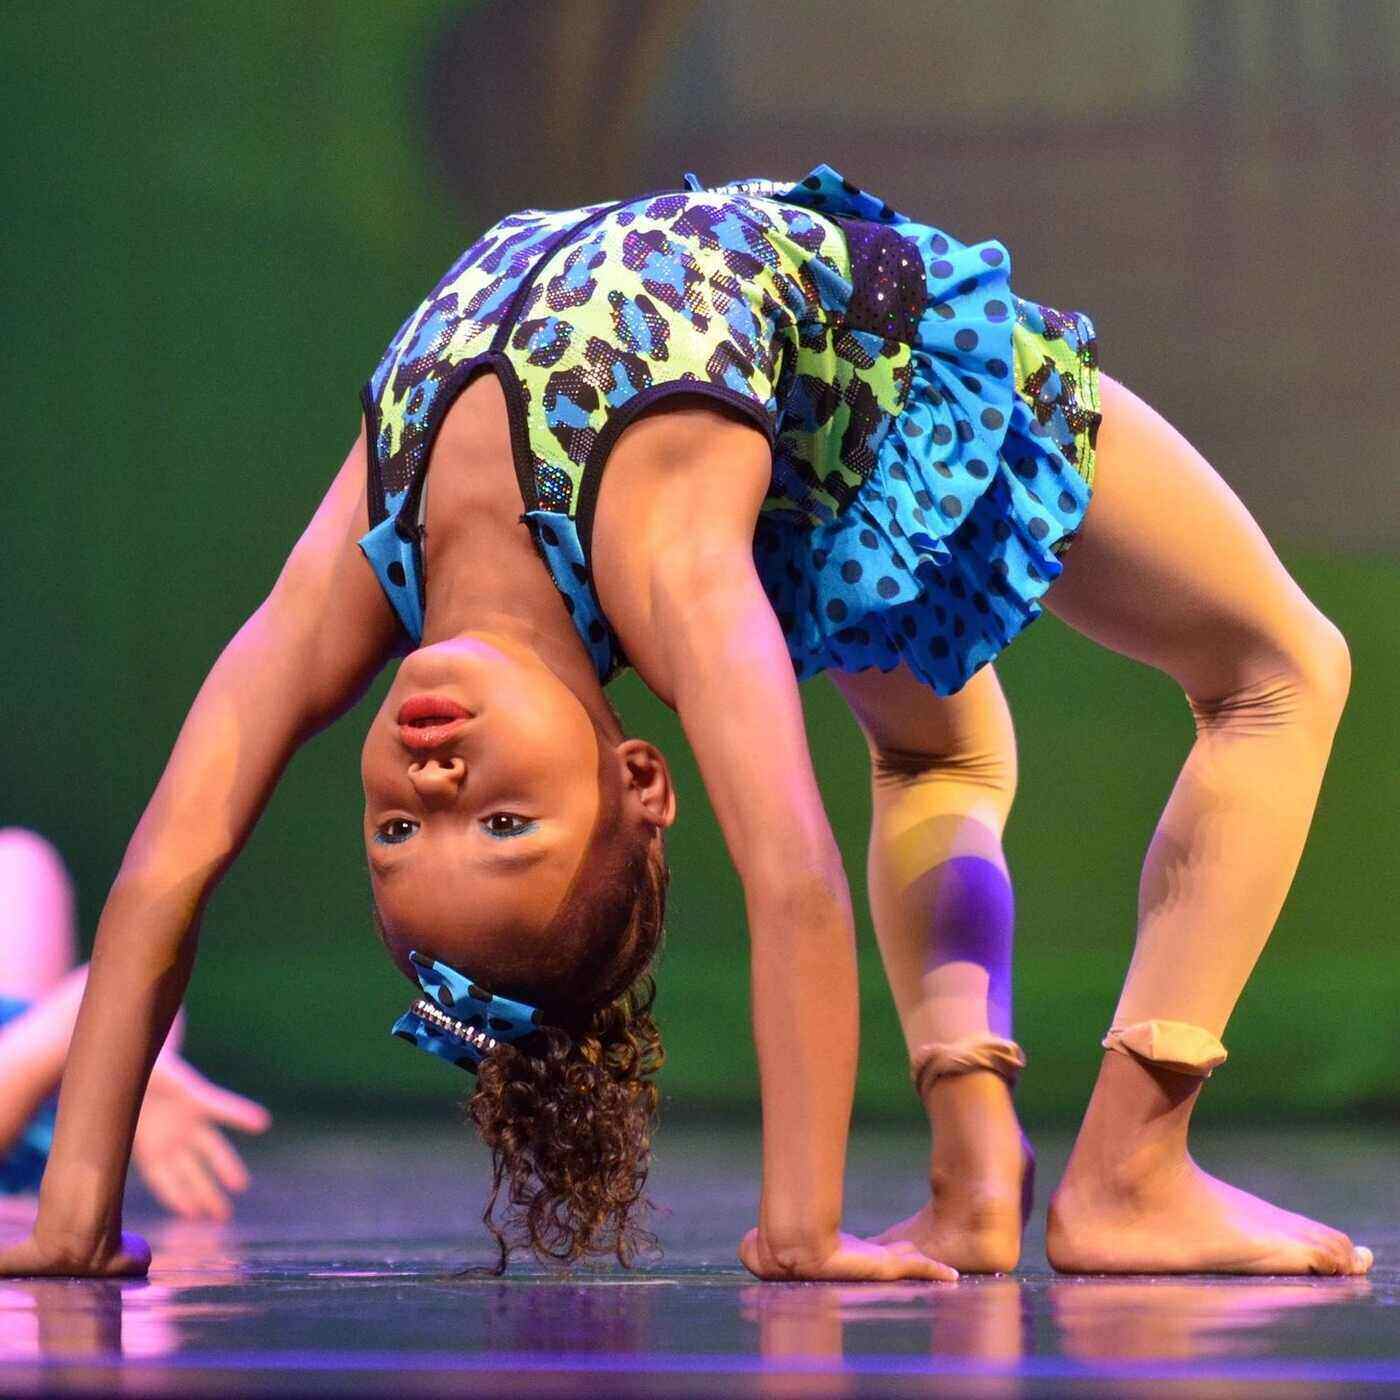
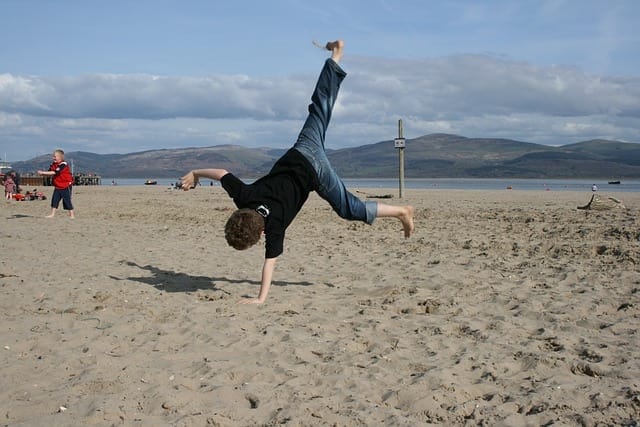
Tumbling, also known as power tumbling or floor gymnastics, is a type of gymnastics in which gymnasts perform combination skills of artistic gymnastics and trampolining without using any gymnastics equipment or props.
Common moves performed in tumbling include rolls, somersaults, tucks, handstands, backbends, handsprings, leg splits, cartwheels and round-offs.
Tumbling helps children develop bilateral motor skills, balance and co-ordination, as well as cardiovascular fitness, strength, flexibility and agility.
In this article, For Kids will illustrate 10 games and moves that pertain to tumbling for kids and toddlers, which can be performed at home if you follow along with a YouTube video of each skill.
Tumbling for toddlers
Table of Contents
Tumbling for kids: How to get started
Tumblers should start with the most basic tumbling skills, which are the forward roll, backward roll and cartwheel.
After mastering these basic skills, children can move on to learning one of the most-used skills in the sport: the round-off.
As they progress in tumbling, the number of twists and rolls included in each run will increase, and the sport will become more exciting.
Tumbling equipment
The only equipment needed to perform tumbling is a space area with a gymnastics exercise mat, which can usually be found in a gymnasium.
In competitive tumbling, a sophisticated 25-meter sprung track is used to help the athletes to perform the high-level dynamic skills.
Beginners can also use trampolines and springboards to learn and practice aerial skills before performing them on the floor.
Safety tips

Tumbling is a fun activity, but it can also be dangerous if it’s not taken seriously. Here are some safety tips for you to consider:
- Learn the basics correctly before moving on to advanced skills.
- Warm-up properly before starting your tumbling workout, and do some stretches at the end of each session.
- Performing tumbling moves inside a matted gymnasium with the guidance of qualified coaches is the best way to learn.
Read more about safety tips during activities and exercises for kids.
10 tumbling games for toddlers
1. Forward Rolls/Somersaults
Divide the group into pairs or have the students choose partners.
Steps:
- Beginning in a crawl position, tuck your head into your chest and push your bottom up and over until you roll over.
- If necessary, a child can assist their partner by pushing their bottom over and placing their own hand on their partner’s head to help their partner keep their chin tucked under.
- Repeat this exercise five times.
2. Backward Rolls
Divide the group into pairs or have the students choose partners.
If the children are just learning to do a backward roll, demonstrate the move first before teaching the children to do it.
You may want an adult—or another partner—to assist them at first so they can feel the correct movement.
Steps:
- Sit on the edge of a mat with your knees and chin tucked into your chest.
- Place your hands on either side of your head, just above your ears, with your palms up.
- If you need help, your partner can place one hand on your head to aid you with keeping it tucked, and one hand on your bottom to help you lift it up and over.
- Rock backward and forward, remaining in the tucked position.
- As you gain confidence, rock harder, until you rock far enough back that your palms will touch the mat.
- When you’re comfortable, change your starting position slightly. Instead of sitting, get into the appropriate tuck position while you’re balanced on your feet.
- Repeat the rocking movement from the new starting point until you’re ready for a break.
Helpful Advice:
- As a tumbler, be sure to keep your hands in place, as protection for your head and neck.
- Push strongly with your hands when they touch the mat, in order to complete your backward roll.
- If necessary, your partner can ease you over by using your hips as a handhold.
- As you become more confident, you can begin the move with your hands starting on the mat and quickly bring them up by your ears as you begin to rock backward.
Do a total of five backward rolls. With practice, you’ll improve your form and speed!
3. Cartwheels
When doing a cartwheel, the child must move sideways in a straight line.
They must keep their back straight and place the hand of their leading side on the ground, followed by the other hand.
Their legs must pass over their body and then come down as their hands and body come up to a standing position.
A cartwheel can be performed by using one, two or no hands.
This is just a sideways motion, so it really doesn’t matter whether the legs are straight or bent, as long as the body turns over in a sideways motion.
Steps:
- Always start a cartwheel with a lunge. The stronger leg leads the lunge, and the weaker leg is in the back.
- During the lunge, raise your arms straight into the air and keep your hips squared in the forward direction.
- Push off your front leg and place your hands shoulder-width apart (or wider) on the ground in front of you.
- Begin to kick your legs up and over your torso and head as the body becomes inverted.
- During the rotation, keep your legs straight and apart, in a wide straddle. Keep your toes and feet pointed.
- As your first foot hits the ground, follow it closely with the second foot. Land in a lunge with the weaker leg in front and the lead leg in back.
- Repeat this exercise 10 times.
4. Round-Offs
A round-off is just like a cartwheel, except that you land with your two feet together on the ground instead of one foot at a time, facing the direction from which you came.
This is achieved by twisting your hands and shoulders as you place your hands on the ground.
The two hands are generally placed down one after the other while you’re kicking your feet up and bringing your legs together, with your feet together.
For practice with round-offs, repeat this entire exercise 10 times.
5. Assisted Handstands
Prop: A wall
Divide the group into pairs or have the students choose partners.
Steps:
- Ask your partner to grab your ankles in a handstand position, or use a wall to help keep your balance and increase your upper-body strength.
- Stand about 3 feet away from the wall and lift your hands above your head.
- While keeping your arms straight having them touch your ears, step forward, throw your hands down and kick upward. The kick will give you more momentum.
- Kick one leg in front of you and take a large step forward with that leg, as far as it feels comfortable to you. Keep a straight line from your fingertips to your back foot.
- Start to lean forward while keeping your body straight. Make sure you add a bit of forward force with your lunged leg and back foot. (The most common mistake is to throw your hands straight down to the ground and try to throw your legs upward at the same time. This results in a whip at the top, and causes you to fall forward.)
- Once your hands are approaching the ground, keep your arms perfectly straight. Your legs will touch the wall for support.
- Repeat this exercise five times.
Read more about gymnastics:
What are the different types of Gymnastics you know?
How to choose Gymnastics equipment for rhythmic gymnastics?
Benefits of Gymnastics for Toddlers & best age to start
6. Solo Handstands
Steps:
- Stand up straight and lift your hands above your head.
- Make sure your arms are straight and they’re touching your ears. Step forward and then throw your hands down on the ground.
- Kick up; this will give you more momentum. Kick one leg in front of you and take a large step forward with that leg, as far as it feels comfortable to you. Make sure you keep your body in a straight line, from your fingertips to your back foot.
- Start to lean forward while keeping your body straight. Make sure you add a bit of forward force with your lunged leg and back foot. (As with the assisted handstand, the most common mistake is to throw your hands straight down to the ground and try to throw your legs upward at the same time. This results in a whip at the top and causes you to fall forward. Keep straight!)
- Once your hands are approaching the ground, keep your arms perfectly straight. Don’t let your elbows bend or your shoulders sag upward. If you bend your arms, you’ll risk hurting yourself. If you do this part right, it’ll help you keep your balance!
- When you feel most of your weight on your hands, attempt to keep the force of your weight around the base of your fingers. This will allow you to push forward or backward with your hands to compensate when you kick too hard or not hard enough. (You might need to try this a few times before you find balance. Soon, you’ll get it almost every time. Just keep all the weight on your hands.)
- Straighten out completely.
- After successfully hitting the handstand, keep your head neutral and your back and legs straight. Look past your eyebrows to see your hands, instead of throwing your head back, which will only result in you arching your back and potentially hurting it.
- Try holding your handstand for 10 seconds.
7. Stay Within the Lines
Props: A roll of easily removable tape
Steps:
- Make two lines on the floor with tape. They should be 12 inches apart and 10 feet long.
- Tell the children to practice doing Forward Rolls/Somersaults within the lines.
- Travel through the lines 10 times.
Variation: When that skill is mastered, decrease the distance between the lines an inch at a time, until the lines are only 6 inches apart.
8. Leg Splits
Steps:
- Sit on the floor with your legs straight and your toes pointed.
- Stretch to get your nose as close to your knees as you can. Hold this position for 30 seconds.
- Flex your feet while still holding your nose as far down as possible.
- Next, sit in a wide straddle and attempt to place your elbows on the floor. Hold this stretch for 30 seconds.
- Reach your hands as far out as possible while attempting to put your nose on the floor. Again, hold this stretch for 30 seconds.
- Place either leg in front and lunge from your knee; your rear knee will be on the floor with your front foot far in front. Hold for 30 seconds and then sit back.
- Straighten the front leg and try to place your nose on your knees.
- Slide as far into the split as you are able.
- Repeat these stretches on the other side. Remember to hold each position for 30 seconds!
Helpful Advice: Never bounce while stretching or push yourself when it’s painful.
9. Backbends
Props: Soft pillows or a mat for each pair
Divide the group into pairs or have the players choose partners. Do this gymnastics exercise slowly; don’t just fall backward into a backbend. Control yourself and don’t rush.
Steps:
- To begin a backbend, start with your legs spread shoulder-width apart. If you’ve never tried to do this before, have a partner hold you by the waist so you can practice getting into a backbend position with support that should help you prevent your core from collapsing.
- Keep your arms close to your ears without touching them, and carefully place your hands on the floor.
- Repeat this exercise 3 times.
Note: Working in pairs, one person can serve as a spotter. It’s especially helpful if the partner is an adult.

10. Backbend Kick-Overs
Steps:
- Get into a backbend position and simply kick your strong leg up and over. Have your weaker leg just behind that leg. Jumping with the leg that doesn’t kick over will help put you into motion so you can complete this.
- Make sure you land with your arms up and your feet together.
- Repeat this tumbling exercise three times.

